The recent 20th Anniversary of IT Summit was an eye-opener for tech enthusiasts, security professionals, and business leaders alike. This annual two-day event brings together IT leaders from across...
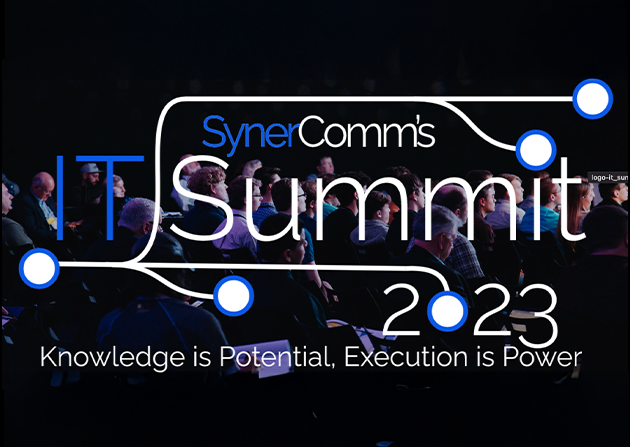
The Future of Business Applications and Data Center Access: Insights from SynerComm’s IT Summit
read more