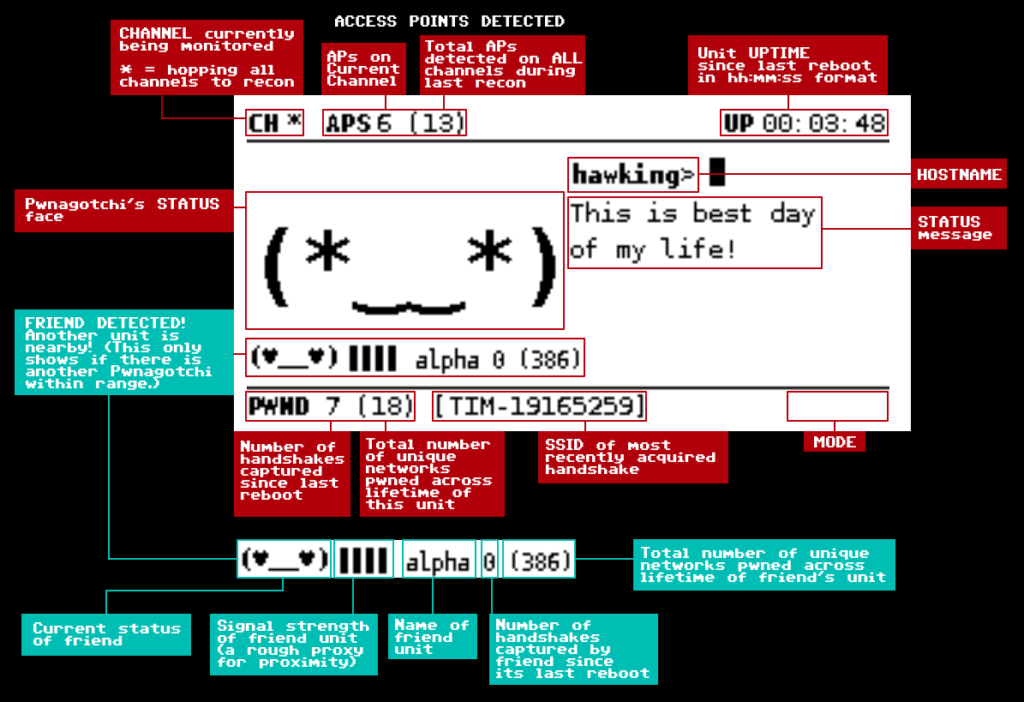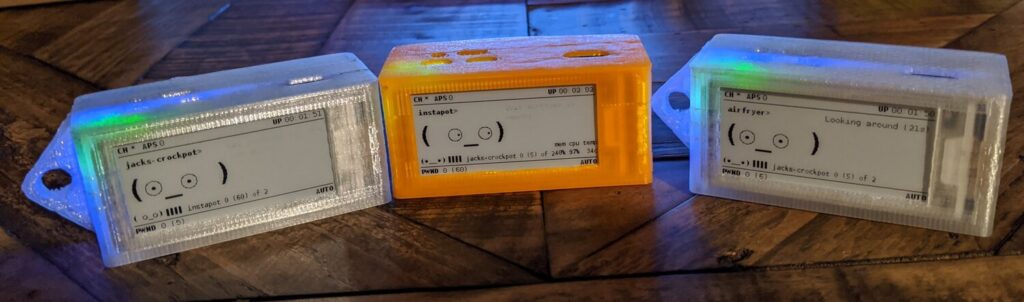
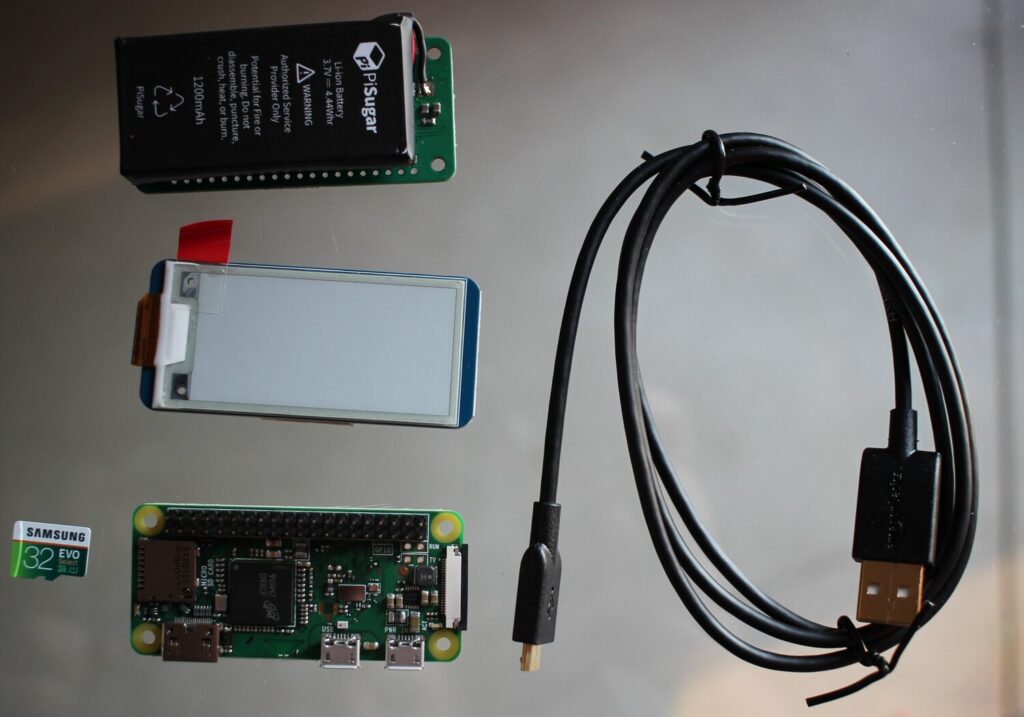
Pwnagotchi is an A2C-based “AI” powered by bettercap and running on a Raspberry Pi Zero W that learns from its surrounding WiFi environment in order to maximize the crackable WPA key material it captures (either through passive sniffing or by performing deauthentication and association attacks). This material is collected on disk as PCAP files containing any form of handshake supported by hashcat, including full and half WPA handshakes as well as PMKIDs.
https://pwnagotchi.ai/intro/
In case you're curious about the name: Pwnagotchi (ポーナゴッチ) is a portmanteau of pwn and -gotchi. It is a nostalgic reference made in homage to a very popular children's toy from the 1990s called the Tamagotchi. The Tamagotchi (たまごっち, derived from tamago (たまご) "egg" + uotchi (ウオッチ) "watch") is a cultural touchstone for many Millennial hackers as a formative electronic toy from our collective childhoods.
Each state and country has their own laws pertaining to the unauthorized access and collection of data.
From https://pwnagotchi.ai/installation/#flashing-an-image:
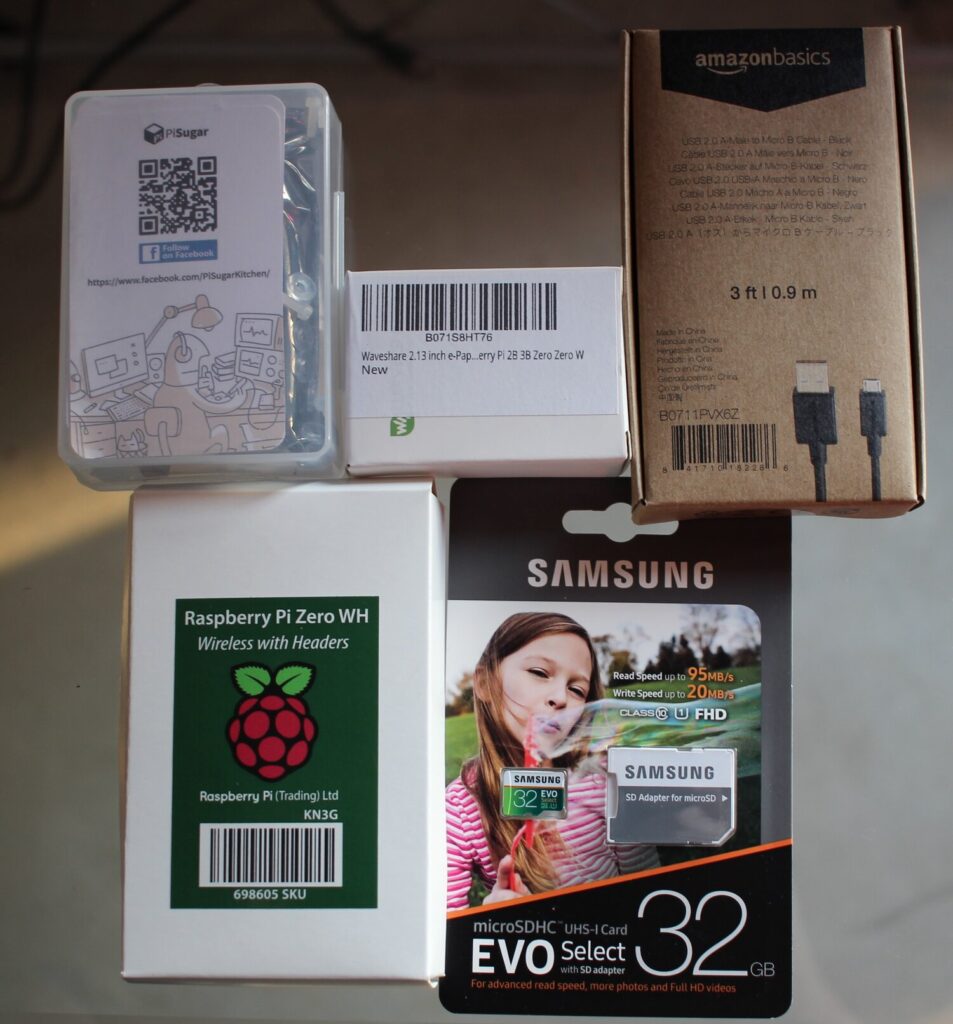
The easiest way to create a new Pwnagotchi is downloading the latest stable image from our release page and writing it to your SD card.
Once you have downloaded the latest Pwnagotchi image, you will need to use an image writing tool to install that image on your SD card. We recommend using balenaEtcher, a graphical SD card writing tool that works on Mac OS, Linux, and Windows; it is the easiest option for most users. (balenaEtcher also supports writing images directly from the ZIP file, without any unzipping required!)
To write your Pwnagotchi image with balenaEtcher:
- Download the latest Pwnagotchi .img file.
- Verify the SHA-256 checksum of the .img
- Download balenaEtcher and install it.
- Connect an SD card reader with the SD card inside.
- Open balenaEtcher and select from your hard drive the Raspberry Pi
.imgor.zipfile you wish to write to the SD card.- Select the SD card you wish to write your image to.
- Review your selections, then click
Flash!to begin writing data to the SD card.As an alternative you can use dd on GNU/Linux or macOS:
Change the path to your image file,
/dev/sdcardis the path to you SD card device.dd if=path/to/pwnagotchi-raspbian-lite-XXX.img of=/dev/sdcard bs=1MWait before removing the SD card as you will need to create one last file on it with the initial configuration.
https://pwnagotchi.ai/installation
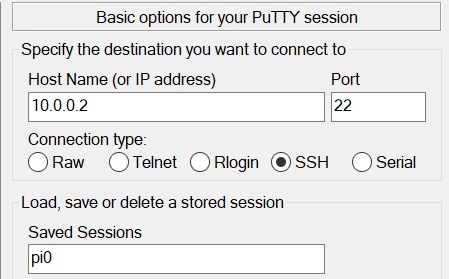
Edit the config located in /etc/pwnagotchi/config.yml, restart, and you should be good-to-go.
# Add your configuration overrides on this file any configuration changes done to default.yml will be lost!
# Example:
#
# ui:
#   display:
#     type: 'inkyphat'
#     color: 'black'
#
main:
  name: '<NAMEOFPWNAGOTCHI>'
  whitelist:
    - '<YOURNETWORK>'
  plugins:
    grid:
      enabled: false
      report: false
      exclude:
        - '<YOURNETWORK>'
ui:
    display:
      enabled: true
      type: 'waveshare_2'
      color: 'black'
    web:
        username: pi
        password: <YOURPASSWORD>